Step.1 Cable Cutting
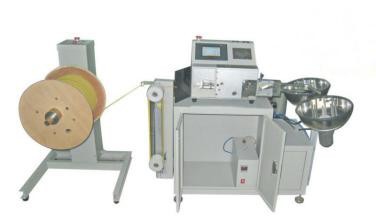
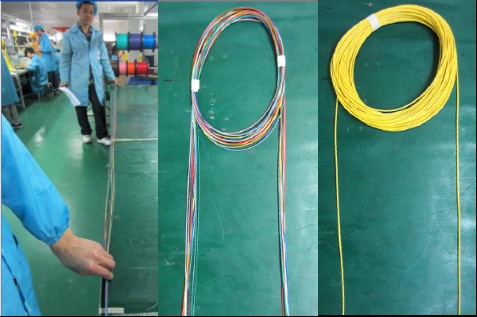
Use the cable cutting machine to cut the cable into specific length according to the customers’ needs. The cable cutting machine can automatically calculate the cable length and cut in a precise way.
Step.2 Cable Cleaning & Pre-handling
Need to clean the cable after cutting to make sure the fiber inside without any dust before inserting connector.Put the cable in good sequence so that it would be very easy to insert connector.
Step.3 Cable Stripping & Indentifying
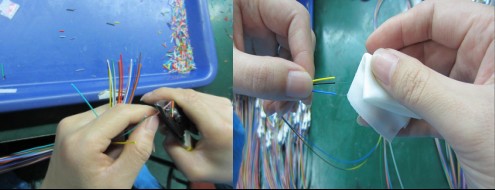
Use the jacket stripper to strip the outer and inner jacket of the cable and use the pastes to indentify the cable for producing the duplex or multi patch cord.
Step.4 Glue Injection & Fiber Inserting
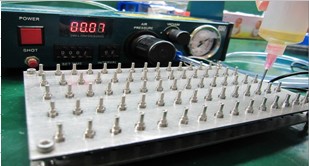
Inject some glue on the surface of the fiber and then inserting the fiber into the connector. Usually it is professional glue called353 epoxy.
Step.5 Fiber Solidifying
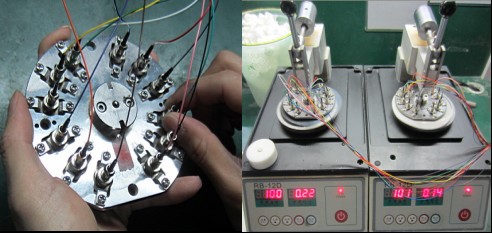
Use vertical solidification furnace or horizontal solidification furnace to solidify the fiber on the connector.

Step.6 Ultrasonic Cleaning & Polishing
After solidifying, the half-finished patch cords need to be cleaned with ultrasonic cleaning machine.And the interface of the connector needs to be polished to make sure the fiber would be one the same line as the ferrule.
Step.7 Microscope Inspection
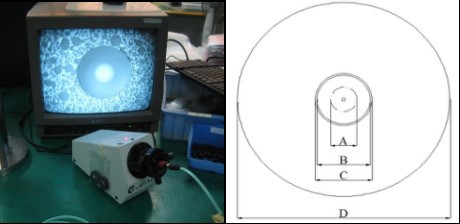
Use 400 times or 600 times microscope to inspect the interface of the connector to make sure it clean. If there is any dust on the interface, we need to re-clean the connector again.
Step.8 FQC
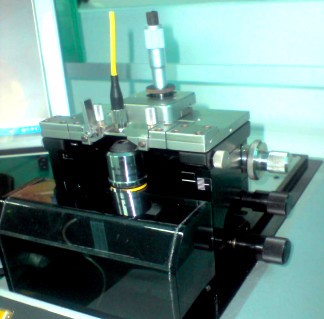
Use the inspection machines to do the FQC.It is important to test the patch cord for insertion and return loss value since they are the key factors affecting the function of patch cords.
Step.9 Kits Fast connector assembly
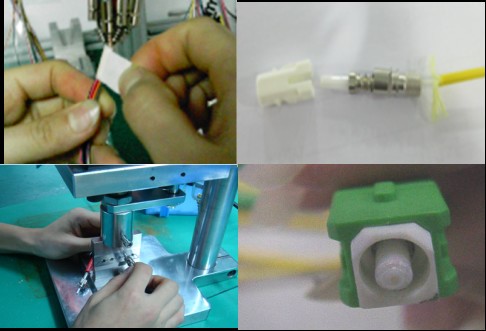
Assembly the other parts of connectors to the patch cords .
Step.10 Packaging
After all the testing, the patch cords would be packed according to customers’ needs.Usually, each patch cord would be packed in one bag in order to keep it safer.


